Extended Project Week 4:
Extended Project Week 4:
04/04/2022
ear casting (add pics) check notes
Finishing project proposal & filling out 10 week plan sheet
Get presentation idea
Today I got started on my ear casts. Whilst I was waiting for my model to arrive, I got the
instructions/materials sheet and began sorting out the area I will be working at by laying down
bedroll, cutting off any bottoms of cups necessary, washing out my mixing bowl as well as adding
the water and getting the cotton balls ready. Once my model got here, I began mixing the alginate in with the cold water. However, the mixture seemed to cure quicker than expected and
so I had to hurry to get it into the models ear. Before this, I made sure the cotton ball was securely
in their ear before proceeding to place the cup around the ear and put the mixture in. Usually it
would be a more watery consistency to be able to get into every little crevice however this one had
started curing, therefore it was more mushy and more difficult to fill the cup with.
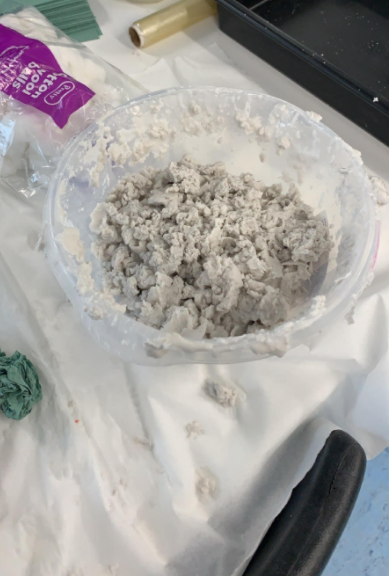
The image above shows the first mixture created once I had piled most of it into the cup. I used this
to figure out how much longer we would need to wait before taking the cup off of the models ear.
However, after some time, it was obvious that it wasn’t properly setting as it was too moist.
We sat there for approximately 10 minutes, checking up on the mould regularly. However, it does
not seem to have cured any more than before. We decided to check the mixture that was left in the
bowl and it had the wrong kind of texture: more clumpy, mushy and wet rather than smooth and
drier. It also seemed to crumble easily. Therefore, we had come to the conclusion that I had used
too much water and not enough mixture as well as leaving it too late to put it in the cup.

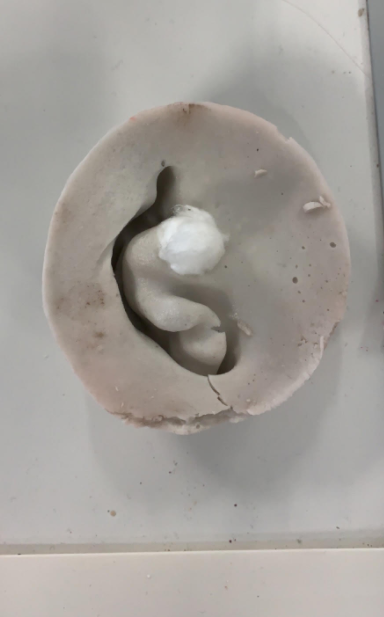
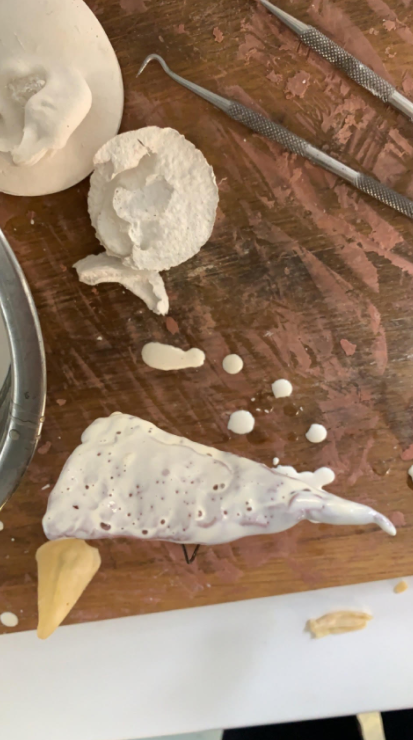
The image above shows the first attempt at making the first mould for the ear cast. When it was
taken out of the cup, it was crumbly and unusable.
Therefore, I got straight to work cleaning out the bowl and trying for a second attempt at making
the correct mixture. This time, I only used a small amount of water and plenty of alginate powder to
make it more of a runny/smooth consistency. This time, I had my model lying down on the floor as
apparently this was much more comfortable for her. Then, I repeated the same steps as I had done
before, only this time the mould came out a lot stronger and actually got in the crevices of the ear.

The images above show the second attempt at creating the first part of the ear mould using
alginate powder and cold water.
Once I had the first mould, I placed that in a cup and began mixing the fine plaster with the water,
and poured it over the mould until it covered the whole ear.
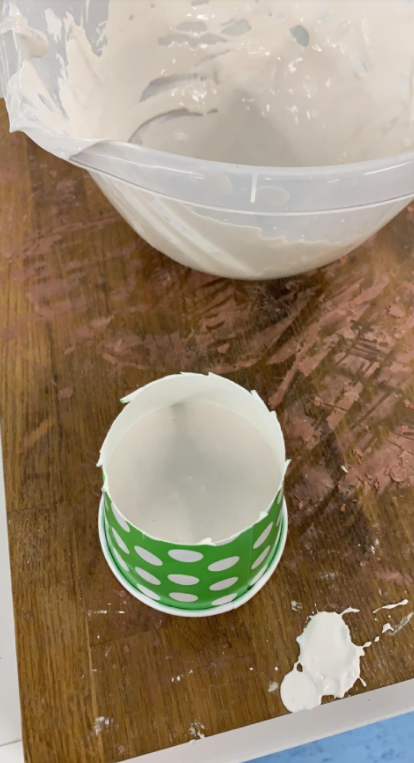
The image above shows the covered mould.
This was then left until Wednesday so that it had time to fully dry.
Then, I finished off my project proposal as well as my ten week plan in order to keep me on track.
06/04/2022
went to take off ear casting, didn’t work
Watched a few YouTube tutorials on different ways to make elf ears (add vids and explain
what ur gonna do)
I started today off by taking out my ear cast to see if everything went well. It did not. When I
(carefully) removed the cup around the cast, the ear came out in one piece (both moulds stuck
together). Then, once I had flipped it over and carefully removed the first mould from the cast, part
of the ear cast fell off. It appeared as though it was already broken beforehand, as there was no
snapping, just falling. Therefore, I decided to take a look at some YouTube videos to see if there
were any other methods I could use to create elf ears.
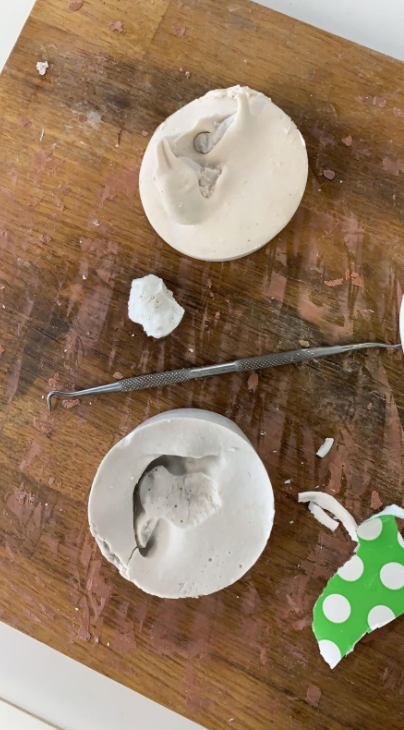
The image above shows the completed, broken mould.
These helped me come to the conclusion of making an elf ear out of plasticine, then dipping it in
latex to create thick, layered elf ears.
19/04/2022
During this time, it was the Easter holidays. However, I decided to pop into college to make a start
on some work. This included: my presentation and the elf ears.
For the presentation, I used a large A2 piece of paper, and rounded off the edges as well as added
a title. Then, I went to the LRC to print off a few images to include.
Once I had done this, I decided to make a start on the elf ears. I grabbed the board I had used
when pouring the casting into the cup of my other ear cast, grabbed a bowl, latex, some plasticine
and a hair grip.
I began by measuring my models ear and creating a triangular shape out of the plasticine. I then
created a small stand of plasticine to keep the ear elevated, and pierced the ear with the open hair
grip. Then, I filled the bowl up with latex and dipped the ear in to create a layer of latex over the
plasticine. I ended up using about 10-12 layers of latex in total. Then, once it dried I had peeled the
latex off of the plasticine. However, I wasn’t too fond of this ear shape as it was much too small.

The image above shows my first attempt at the latex elf ears.
I then remade the plasticine ear tip by adding more on, and stretching it out, still keeping the same
thickness and width at the bottom to ensure it would still fit on the models ear. I left the first couple
layers of latex to dry in college.
The image above shows the new elf ear mould covered in latex.
Comments
Post a Comment